Below I will list the steps I follow in my routine and share the products I use, so you can take advantage of my experience and decide what you can introduce into your routine:
STEP 1: Most valuable, as you (for sure) know, is to have a clean and hydrating SKIN! So, in the morning, wash your face gently, use a toner, and excellent enriched face cream. In my case, I am in my thirties, and I have mixed skin (overall dry, but on T zone tends to get oily), so here’s what I use and for me is doing great:
- Neutrogena Hydro Boost Face gel to wash my face using
- Homedics Blossom (a massaging silicone-based brush) for better/deeper cleaning
- Velour lip scrub in Peach Popsicle from Jeffree Star Cosmetics to clean and hydrate lips
- Mario Badescu Facial Spray with Aloe, Herbs and Rosewater as tonner and
- Shiseido Essential Ennergy Moisturizing Gel Cream which is lightweight and very moisturizing
STEP 2: Now that the skin is ready, I can create the BASE. Today I give total preference to MINERAL POWDERS, and Bare Minerals is iconic in the mineral makeup game. With buildable coverage, I can take from sheer to full in a matter of seconds, and it has SPF15. It is perfect for everyday makeup looks and great on photos too.
I love the Original loose powder (although there is also the Matts version), and I usually mix two or three different colors, depending on how tan my skin is. In my case, I mix between Light 08 and Fairly Medium 05, and I use their concealers to create the perfect shade for me. Moreover, I use their concealers in Well-Rested and Bisque to cover imperfections (pimple included). Furthermore, let me say that a few mg of this powder product is enough to make the base, so considering that in a standard jar, it has 8g of product, for me, it holds over one year! It’s fantastic!! I highly recommend it.
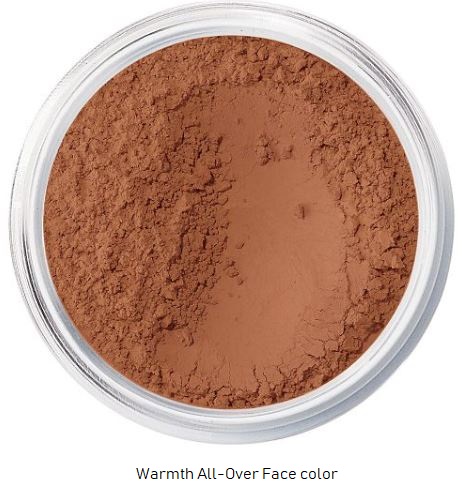
STEP 3: To warm up the face and create depth, I always use Bare Minerals All Over Face Warmth. It is warm enough to create natural “shadow” under the cheekbone (but does not look reddish, or greyish), just a natural look.
STEP 4: On cheeks, I would use a mineral blush like color Golden Gate from Bare Minerals, sometimes Desert Rose from Bellà Pierre Cosmetics, or sometimes a pick from the Blush Bazaar Amazonian clay palette from Tarte Cosmetics.
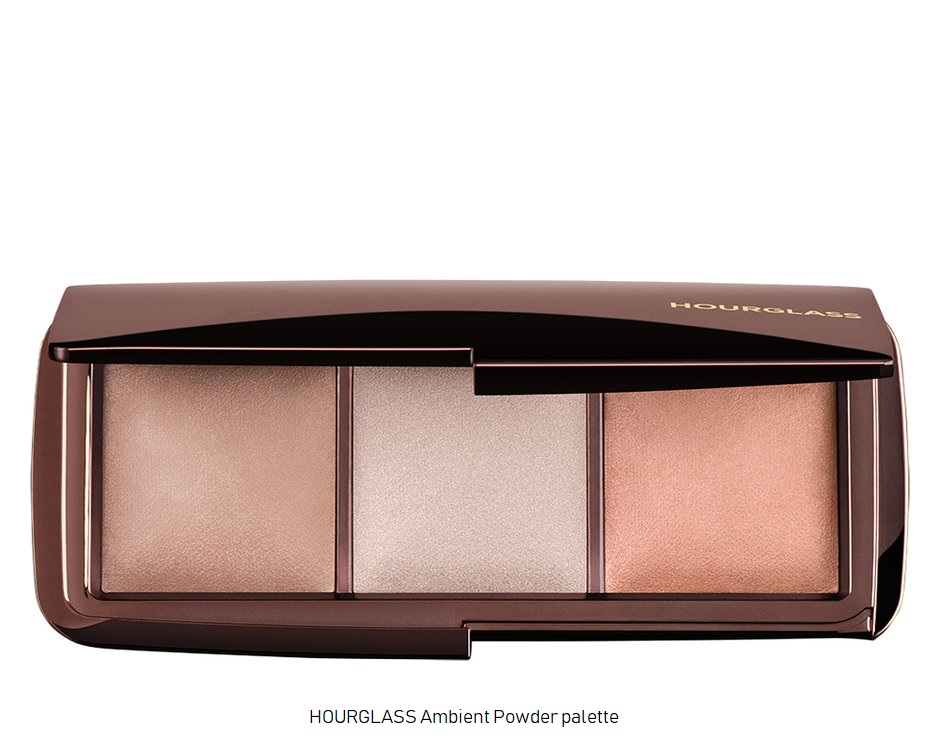
STEP 5: To give a youthful radios skin tone, I’ll always use at the end a veil of Hourglass Ambient powder, which is finely melted, and it will provide a smooth light appearance to the face. Gorgeous!
It is my daily routine. Afterward, I’ll use an eyeshadow pallet to play with colors to match with my look of the day. Plus, a good mascara and a nourishing lipstick to get the finished look.
Would you like to hear my personal preferences on the eyeshadow pallets, lipsticks of eye/lip pencils? Let me know in the comment section below, and I’ll be happy to a dedicated post on these topics too.
My best wishes to you all,
Nadiya
MetropolitanMe Blogger